The leanest window tint checklist has six steps, done in order: settle your goal, split the car by window position, choose the light level, compare TSER between films with the same VLT, choose the shop, then keep the paperwork. The order matters more than any single step. Do it backwards, picking a package name first, and the other five steps just become a hunt for reasons to justify a decision already made.
A typical price-shopping visit goes like this: the shop offers three packages, quotes a few numbers, then switches on a lamp so you can feel it with your hand. Twenty minutes later you have paid a deposit without knowing which code goes on which pane. This article helps you prepare before that visit. The short version to copy into your phone is right below; the explanations come after.
The window tint checklist to take to the shop
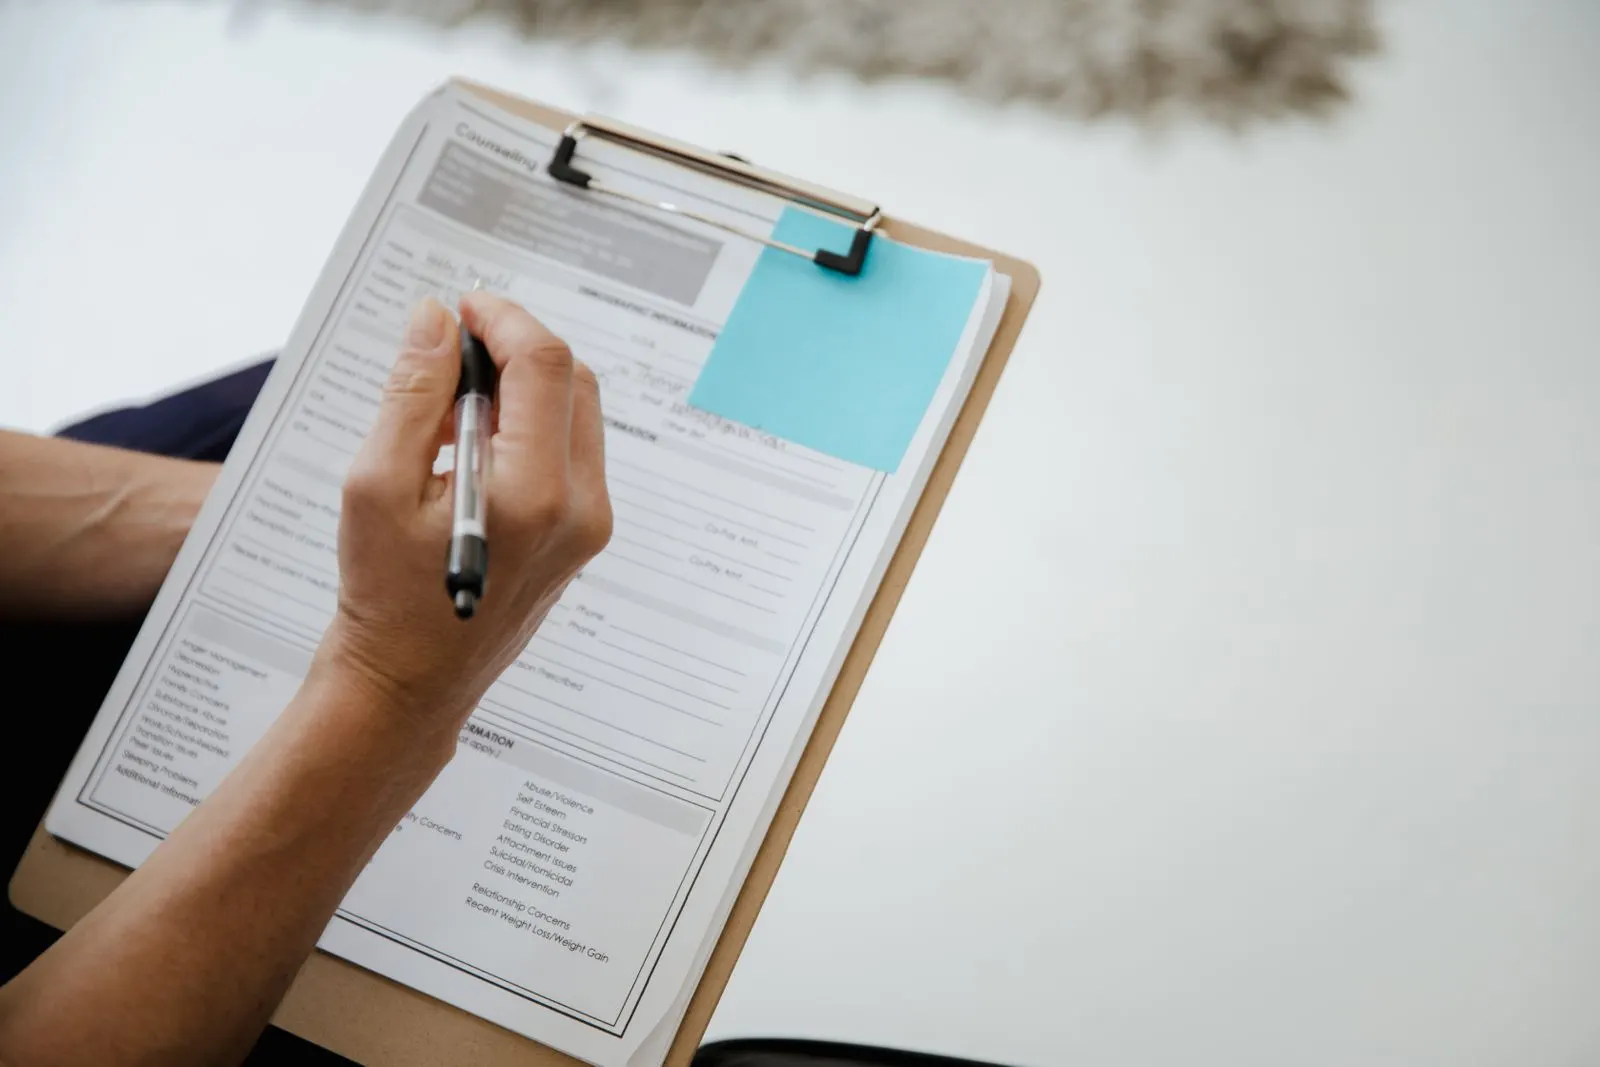
Copy this list as is into the notes on your phone.
- My main goal: less heat, less glare, privacy, or protecting the interior?
- How I drive: city or long trips, parked underground or outdoors, who usually sits in the back?
- Which devices in the car need signal: ETC tag, dash cam, navigation?
- Which panes need film: windshield, front side windows, rear side windows, rear windshield, sunroof?
- What light level do I want on each pane? Is the car's factory glass already tinted?
- Do the two film codes I am comparing have the same VLT?
- What is the TSER of each code, measured on what glass, and published by whom?
- In what wavelength band is the IRR figure the shop quoted measured?
- Does the coating contain metal?
- Can I see a sample on real glass, in low light?
- Who installs it, where, how long does it take, and how are edges and adhesive handled?
- Does the quote list the film code for each pane?
- Which code does the warranty cover, for how long, under what conditions, and who handles claims?
- After installation, can the light level be measured again and my devices tested right there at the shop?
Fourteen lines sounds like a lot, but almost every line is a question answered in a minute. A careful shop will not be annoyed by these questions. Many shops actually like customers who ask them, because it saves explaining everything from scratch.
Step one: settle your goal before looking at film
Write down one main goal. Just one. When everything is a priority, you end up buying the most expensive package or the one they want to sell.
A city car parked underground may only need less glare and more privacy. A family car on long trips needs less sun on the people in the back. A ride-hailing or service car driven all day cares about durability, because every day in the shop is a day without customers. All three are "getting tinted", but these three cars are buying three different things.
Also write down what you do not need. If you park underground and will sell the car within two years, write that in. That line will help you turn down the upgrade pitch.
Step two: split the car by window position
Do not ask "what film for the car". Ask "what film for this pane".
The windshield is for seeing the road. The front side windows expose the driver's arm and shoulder. The rear side windows are where your family sits. The rear windshield has little effect on how driving feels but matters for reversing at night. If the car has a sunroof, ask about that pane separately, because it sits right above your head.
On UV, a study of 34 cars found that windshields already block almost all UVA, while the driver's side window blocks less and varies a lot between cars. The study was done in the US, but it suggests treating UV as a reason for the side windows more than the windshield.
If the budget does not cover the whole car, this step tells you where to cut.
Step three: choose the light level
The light level has to be chosen before you compare coolness. The reason is simple: the light level decides whether you can see the road, and it is the one thing film cannot make up for with technology.
Two things to do at this step.
Check the factory glass. Car glass usually passes about 70 to 85% of light, and the light level after filming is roughly the product of the glass and the film. A 70% film on 80% glass leaves about 56%. The number written on the sample is not the number you will be looking through.
Look at the sample in low light. Hold the sample against real glass somewhere dim, in a parking garage or at dusk. A 2022 study reviewing earlier work reported that people over 65 complain more about glare and recover from glare more slowly, so cars driven by older people need extra care at this step.
Details for each position are in the article on window film VLT. Regulations can change, so check current local regulations instead of trusting a number passed around by word of mouth.
Step four: compare TSER between films with the same VLT
This is the step that does the most work of the six. Ask for two codes with the same light level, write down the TSER of each, then look at the price.
| Write in the table | Code A | Code B |
|---|---|---|
| VLT | Must be equal | Must be equal |
| TSER | Figure from the spec sheet | Figure from the spec sheet |
| Test glass | 6 mm clear or other | Must match code A |
| Source of the figure | Manufacturer's sheet | Manufacturer's sheet |
| Coating | Metal or not | Metal or not |
| Price for this position | From the quote | From the quote |
This table deliberately has no IRR row. Not because IRR is useless, but because its measurement band varies by manufacturer, so two brands' IRR figures cannot be compared directly without knowing the band. TSER covers all solar energy, including visible light. The article on window film specifications explains each figure.
Pay attention to the test glass row. Serious spec sheets usually calculate on 6 mm clear glass and state the method. Two figures measured on two different types of glass cannot be put side by side.
Our view, and it is reasoning: if two codes with the same VLT differ very little in TSER, the price difference is buying something else, such as the brand, color stability or warranty. Those things can be worth paying for, but call them what they are; do not call it "cooler".
Step five: choose the shop
Good film, rushed installer, and the result is still dust under the film and bubbles along the edge. In day-to-day use, this part matters as much as the roll of film.
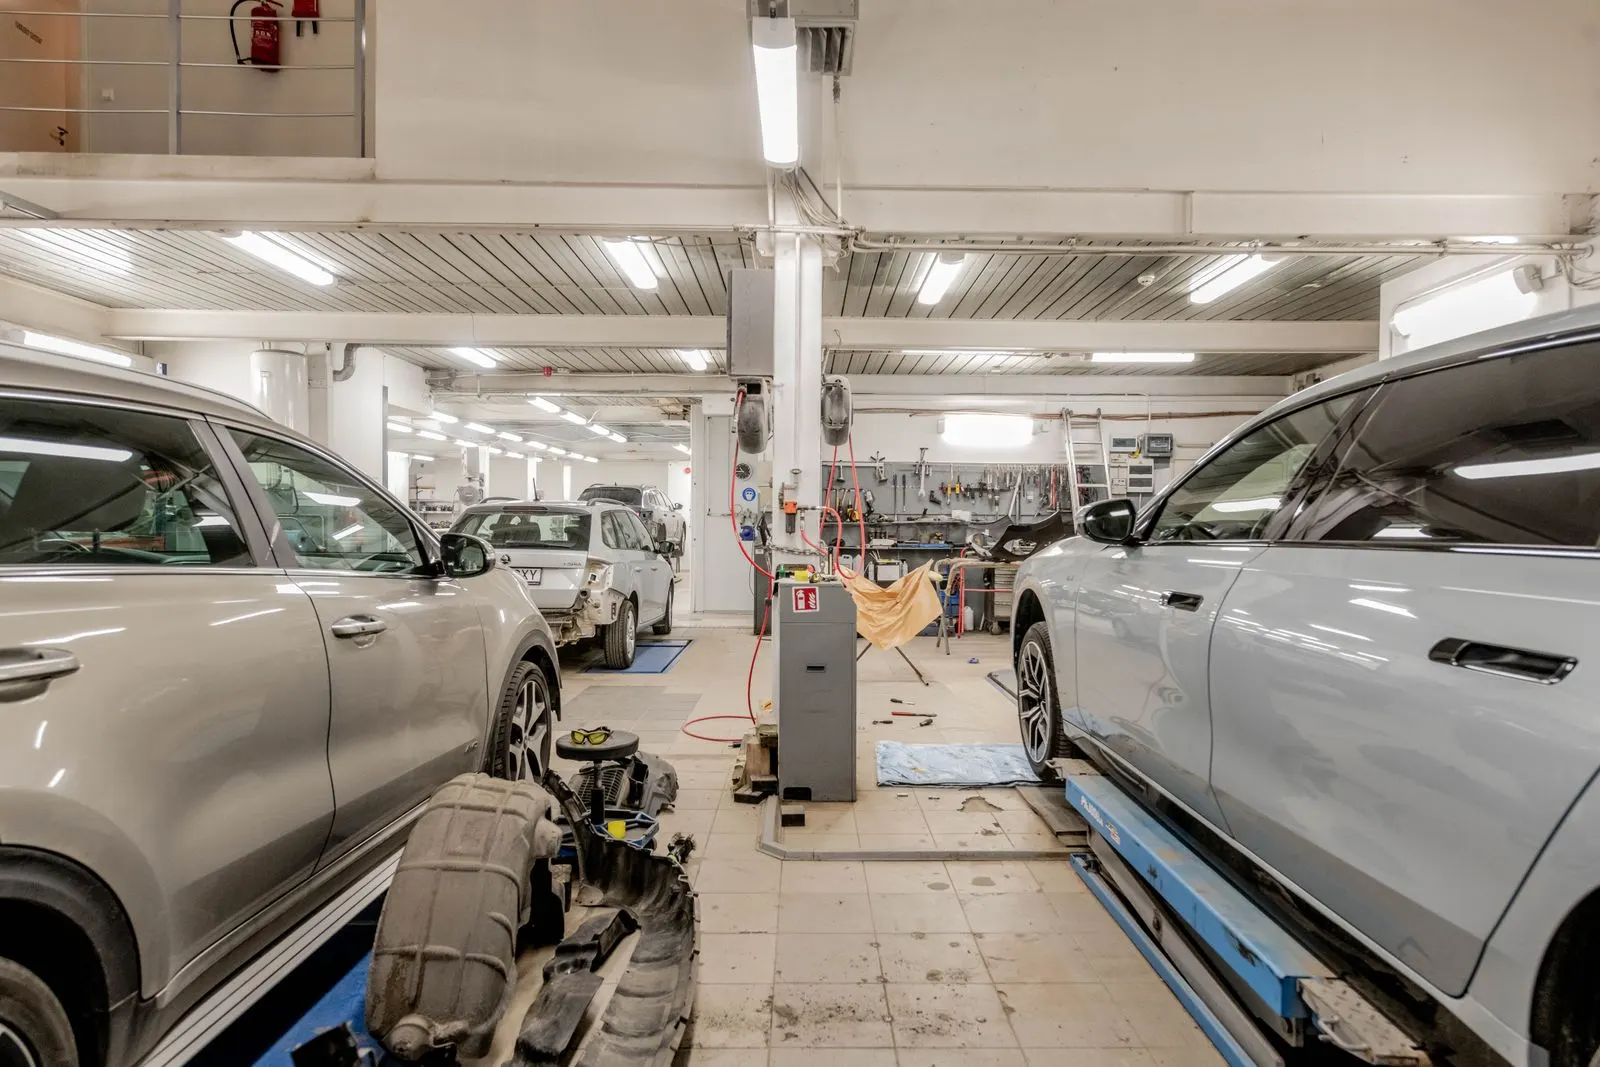
Things to see with your own eyes: is the install bay enclosed and clean, does the installer clean the glass thoroughly, are the film edges tidy on a car being worked on right now. Ask how they handle the area with defroster lines on the rear windshield, and whether they cut film directly on the glass. A shop that can describe its process usually has one.
Mention the ETC tag and dash cam before the installer starts. If the car loses GPS after tinting, rolling the window down to test is a quick way to find out whether the film is the cause. Tag read failures can also come from a damaged, dirty or badly placed tag, so test while you are still near the shop, not when you are stuck in the toll lane.
Keep just one rule: do not let the price of the film hide the question of who is installing it.
Step six: keep the paperwork
This step takes five minutes and is only worth anything on the day you need it.
The quote or invoice should list the film code for each pane, not just the package name. The warranty card should match those codes, with the installation date and who to contact if a problem comes up. Photograph everything and keep it on your phone, because paper left in the glovebox fades or goes missing after a few hot seasons.
Before leaving the shop, look at the glass in daylight, ask for the light level to be measured again if the shop has a meter, and test the tag and devices. For the first few days the film is still a little damp, which is normal; aftercare is covered in the article on window tint aftercare.
When do you not need all six steps?
A car about to be sold, parked underground, rarely out in the sun: step four can be shortened, because TSER differences make little difference to that kind of use. Keep steps three, five and six as they are. Visibility, workmanship and paperwork do not lose value with the kilometers you drive.
The other way round, if you are tinting a new car, keeping it a long time and driving a lot, skip nothing. One afternoon of asking around is tiny next to the years you will spend looking through that film.
Next step
Fill in the first five lines of the checklist today, before you call any shop. If you would like someone to look over that list with you, send it to the VEGO team through the contact page.